Quick answer
Start by controlling the castle comfortably, consuming approachable targets, and learning when to commit to a fight. Build around equipment you can use reliably before chasing an elaborate combination.
Understand what the run asks you to do
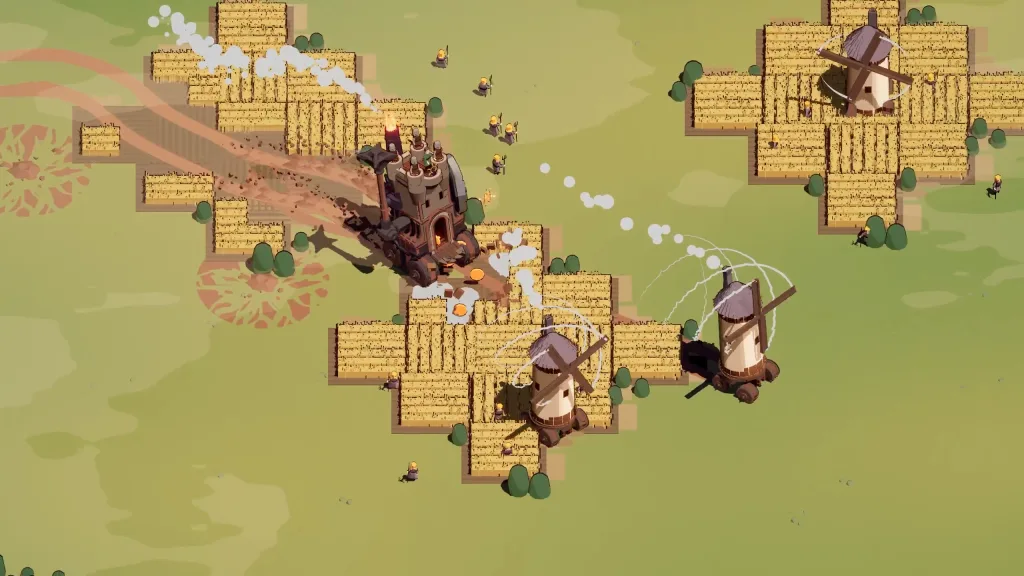
Wanderburg puts the entire castle under your control. Steering is not just travel between fights: it determines which targets you reach, where your equipment is brought to bear, and whether you can escape a bad approach. The official press kit describes a moving ecosystem, rather than a stationary base-defense game.
The broad loop is to consume, expand, improve your modules, and survive larger encounters. Boss victories contribute to further castle growth. Between runs, unlocked options widen the choices available for later attempts. Keep those two timescales separate: making progress in the collection does not mean the next run begins with every benefit earned in the last one.
For your first attempts, choose one aim: become comfortable approaching and leaving targets. You can work on optimized combinations after you know which movement decisions repeatedly cost you health.
Settle movement before adding a complicated rule
Check the control options in your installed game, then try steering, using boost, and any reverse control shown by your chosen setup. Do this with enough space to notice the response. Do not assume a keyboard layout from another driving game applies here.
If controller steering feels awkward, investigate the alternative driving style introduced in hotfix 0.9.8. That is a option, not a guarantee that one style is best for everyone.
Avoid changing your device, vehicle, and captain simultaneously while learning. If the response changes, you will have a clearer explanation when only one of those decisions changed.
For a short practice sequence, first move through an open area without trying to attack. Next, choose a point you can comfortably turn toward and away from. Finally, repeat that approach while using one familiar equipment action. The purpose is to divide steering and combat attention into manageable steps. This is an editorial exercise, not an official tutorial challenge or a requirement for unlocking anything.
If the third step becomes difficult, simplify the action before changing the whole setup. Notice whether you lose track of the path while looking for an ability, or whether the path itself is uncomfortable. The first suggests practicing that action; the second suggests returning to movement and the displayed controls.
Choose approachable food and a safe line through it
Consuming settlements and smaller targets is part of growth. The press kit describes the castle eating what is in front of it, so the approach matters. Pointing yourself toward an apparently easy target is only half the decision; look at where the castle will be afterward.
favor an approach with room to continue moving or turn away. Chasing a small target into several threats can turn a growth opportunity into a survival problem.
The map is procedurally generated. Learn to read the current situation rather than expecting another player’s route to have the same targets in the same places.
Before approaching, identify the target, the nearby danger, and your intended direction afterward. If you can name the target but cannot see a comfortable continuation, choose a less committed approach. After consuming or fighting, look again: the next decision concerns the current surroundings, not the route you imagined before moving. This helps keep growth purposeful instead of turning every visible target into an obligation.
Learn both parts of a module
Official updates distinguish automatic attacks from active abilities. Try the ability you have, notice when it is available again, and identify what it adds that ordinary attacks do not. A module can feel different after an update even when its name is unchanged.
The Side Ballista record illustrates this: a hotfix weakened automatic fire while improving the active ability. That means advice based only on an older automatic-fire demonstration may miss the present role of the equipment.
When choosing another module or upgrade, ask which problem it solves. Are you failing to remove threats during an opening, or failing to keep a usable position? A damage improvement and a defensive action solve different problems.
Use the next choice as a small decision rather than a promise to finish a complicated build. Read what the offered option changes, connect it to an action you already use, and decide whether that action matters to the present run. An unfamiliar option can be worth learning, but distinguish that experiment from a choice made for immediate reliability. You do not need a claim about the strongest possible loadout to make a useful local decision.
Treat Nitro and ability availability as resources
Boost is not something to assume you can use indefinitely. Hotfix 0.9.8 changed the delay before Nitro regeneration begins after boosting. Captain drawbacks can also affect Nitro recovery or the damage you take during boost.
The practical priority is to avoid spending your escape option without noticing. Before a committed pass, check whether you have a way to recover if the target survives. If you use boost to reach the fight, consider what you will use to leave it.
Do not import an ammo, fuel-price, or gold-spending system from another game.
Position for the next action, not only the current hit
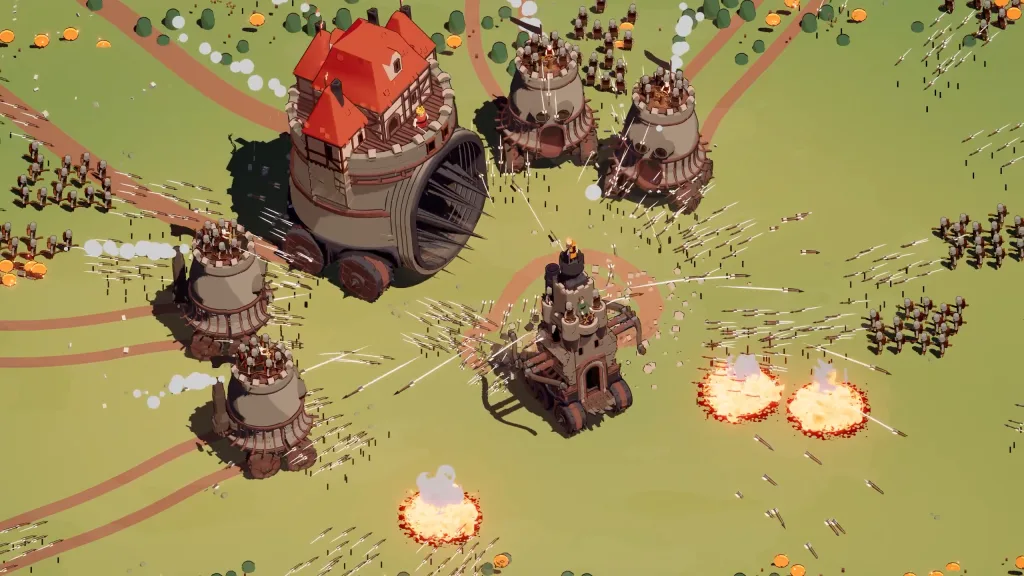
A close approach should have a purpose and an exit. Watch a new threat before making repeated contact. If your first pass fails, reposition rather than trying the same line without understanding what happened.
For projectile-heavy situations, Force Mage has a cancellation ability. That does not mean it blocks every attack or removes the need to steer. Likewise, a stun-capable module is not proof that every boss is vulnerable to it.
Ram has received behavior and damage-consistency fixes. If you experiment with contact-oriented play, evaluate the whole pass, including incoming damage and the position in which you finish. A successful hit is not automatically a good trade.
Read captains and artifacts before building around them
Captains can attach a drawback to a run. The current official notes confirm examples involving ability cooldown, Nitro recovery, boosting damage, enemy cannons, and gold. Read the full in-game description rather than choosing from the benefit alone.
Artifacts add another rule to investigate.
For a beginner, a rule you can apply consistently is a sensible starting preference. That is editorial advice, not a claim that any particular captain or artifact is objectively strongest.
Read a drawback as a question about your habits. If you often boost toward a target and need boost again soon afterward, a Nitro-related rule deserves attention. If you save a particular ability for an opening, a cooldown-related rule matters at that moment. Do not invent a compensating benefit from the captain’s name: read the complete description before deciding whether the trade is comfortable for you.
Know when to change direction
Change the plan when the options in front of you solve a more urgent problem than the combination you hoped to assemble. Continuing to pursue a speculative synergy while repeatedly losing health is not automatically a good long-term investment.
On the other hand, do not abandon a coherent setup after one unfamiliar encounter. First ask whether the failure came from equipment, timing, handling, or a version difference. That distinction helps you make a useful change rather than replacing everything at once.
After a difficult attempt, pick one event you can explain and one adjustment to try. For example, entering with an unavailable ability suggests checking readiness before the next approach; missing the exit suggests changing the line through the fight. Keep the next attempt focused on that adjustment. You can learn from a failed run without claiming it advanced a specific unlock or achievement.
| What you notice | A useful next question |
|---|---|
| You reach enemies but cannot leave | Did you preserve an exit and enough movement resources? |
| An ability rarely contributes | Is it available and being used at the right moment? |
| A copied setup feels different | Does the source use the same game version and difficulty? |
| One captain feels unusually punishing | Are you accounting for its drawback? |
Before pushing a new region or overtime, review boss preparation and progression. A first clear, an achievement, and an endurance attempt are different goals.
Guide questions
What should I prioritize in the first run?
Comfortable movement, approachable targets, and understanding the equipment already available.
Should I always take more damage?
Not automatically. If handling or recovery causes the failure, another offensive choice may leave that problem unchanged.
Do I need a specific captain to begin?
No specific starting requirement is asserted here. Use an available captain whose current rule and drawback you understand.